| Prep time | Cook time | Total time | Servings | Difficulty |
|---|---|---|---|---|
| 25m | 15m | 40m | 4 | Medium |
Introduction
Hi there!
Have you ever asked yourself any of these questions?
Why does chicken parmesan have that big ol' slab of mozzarella on it? It's not called chicken mozzarella...
How can I make this chicken breast taste REALLY good?
I really like fried cheese, is there a way to combine that with chicken parmesan somehow?
If so, then this chicken parmesan recipe is for you!
This recipe is intended to be an easier-to-make and marginally more healthy version of the classic chicken parmesan recipe because it forgoes with the mozzarella cheese typically found on top of traditional Chicken Parmigiana.
Note: Original credit goes to Adam Raguesa, I largely follow his steps with some variance. Find his original recipe here.

Poppy helping out
Ingredients
- 1.0-2.0lb of chicken breast, approx. 3-4 filets
- ~1/2 bag (about 2 cups) of Private Selection® Italian Panko Bread Crumbs
- 1 jar tomato sauce
- 3 eggs, beaten
- 1-2 cups of flour
- Salt, pepper, garlic, (optional) paprika
- 2 cups Pecorino Romano, finely shredded
- Vegetable oil (or any other frying oil, I've only tried with vegetable oil)
You may notice that I haven't been too specific with measurements. The amounts of the ingredients depend on things like the thickness of the chicken breast, size of the frying pan and prepartion method (nuggets need more breading per breast than filets), etc. Measure with your heart and cooking will become a lot easier!
Instructions (with pictures!)
Step 1: Heat things up

If you are making pasta alongside the chicken, get a pot of water heating up. Get a frying pan with your oil heating up on medium. At a minimum, the oil height should be 1/2 height the thickness of your chicken breasts.
Step 2. Make breadcrumbs with cheese

Finely shred your Pecorino Romano cheese until you have a good pile of it. Then, pour an equal amount of panko breadcrumbs on it and mix. Make sure the mixture is no more than 50% cheese, or the texture will be more chewy than it is crispy.
Step 3: Season chicken

Trim any fat off the chicken breasts, then season and tenderize both sides. If you don't have a tenderizer, poke a fork multiple times through the entirety of the chicken breast. Flatten the chicken down with a glass jar or something heavy until it has even thickness. This is where a tenderizer is valuable, you can flatten and tenderize the chicken at the same time, less cleanup.
Step 4: Prepare rest of prep station

Add some flour to a plate. I use 00 flour because it is a little bit more fine-grained, but normal flour works just fine. Add eggs to a bowl, and beat until smooth. Set plates for the prepared chicken. The prep station should be in order: chicken -> flour -> egg -> breadcrumbs -> plate
Step 5: Put breading on chicken
Time to get messy...
Step 5a: Coat in flour

Make sure every crevice is coated, or the eggs wont stick.
Step 5b: Coat in egg wash

Slide the chicken down the bowl's side closest to you and push it up the other side. This allows you to dip the chicken in the egg slurry while keeping your hands relatively clean.
Step 5c: Coat in breadcrumb-cheese mix

For this step, I like to grab a handful of breadcrumbs, place the chicken down, then pour the breadcrumbs from my hand onto the chicken. This way, it allows me to press the chicken down without getting a lot of egg slurry on my hands.
Step 5d: Repeat stepts 5a-5d until all chicken pieces are breaded
Can't put breading on just one chicken breast can ya? Developers... pretend you are doing a real-life for loop. Everybody else... enjoy your sanity.
Step 6: Fry chicken
Step 6a: Get sauce warming up

Get this guy on medium-low. It doesn't take long for it to heat up, just make sure to be constantly stirring or it will burn. I use Victoria tomato sauce for this. I used to use Private Selection® Basilico, but they got rid of it. Use what ever sauce you want, if you want to make your own sauce go ahead, I just don't have the time or patience.
Step 6b: Get pasta cooking (optional)

If making pasta, salt the water (if you haven't already) and get the pasta in. The frying of the chicken will take about 5-10 minutes per batch (I can only fry 2 at a time, so it would take about 10-20 minutes total to fry all the chicken up).
Try to time it so when the pasta is done, the last chicken cutlet will be done frying.
Step 6c: Put chicken in frying pan

Hold a chicken cutlet on one end, and dip the other end in to the oil. Then gently lay the rest of the chicken down in to the pan, away from you.
Once you can see the golden-brown color going up the side of the chicken, it is time to flip it.
It should take roughly 5-10 minutes to fry one completely. It all depends on how thick your chicken breast is.
TIP: Don't overcrowd the frying pan, as this lowers the temperature of the oil too much to get the breading crispy.
Step 6d: Put chicken on wirerack

Clean up an area and put a wirerack with paper towels underneath to catch excess oil.
Take the chicken cutlets out once they reach 160-165 degress Fahrenheit (that's 71-74 Celcius for you non-Americans...). It's okay if they hit 160 Fahrenheit as they will carry-over cook to 165. If you are really concerned take them to 165, but anything past that and the chicken will be really dry.
Step 7: Prepare pasta (optional)

If making pasta, drain the pasta and melt some butter. Coat the pasta with butter and then ladel some sauce in. I leave 1/3-1/2 a jar of sauce leftover for the chicken.
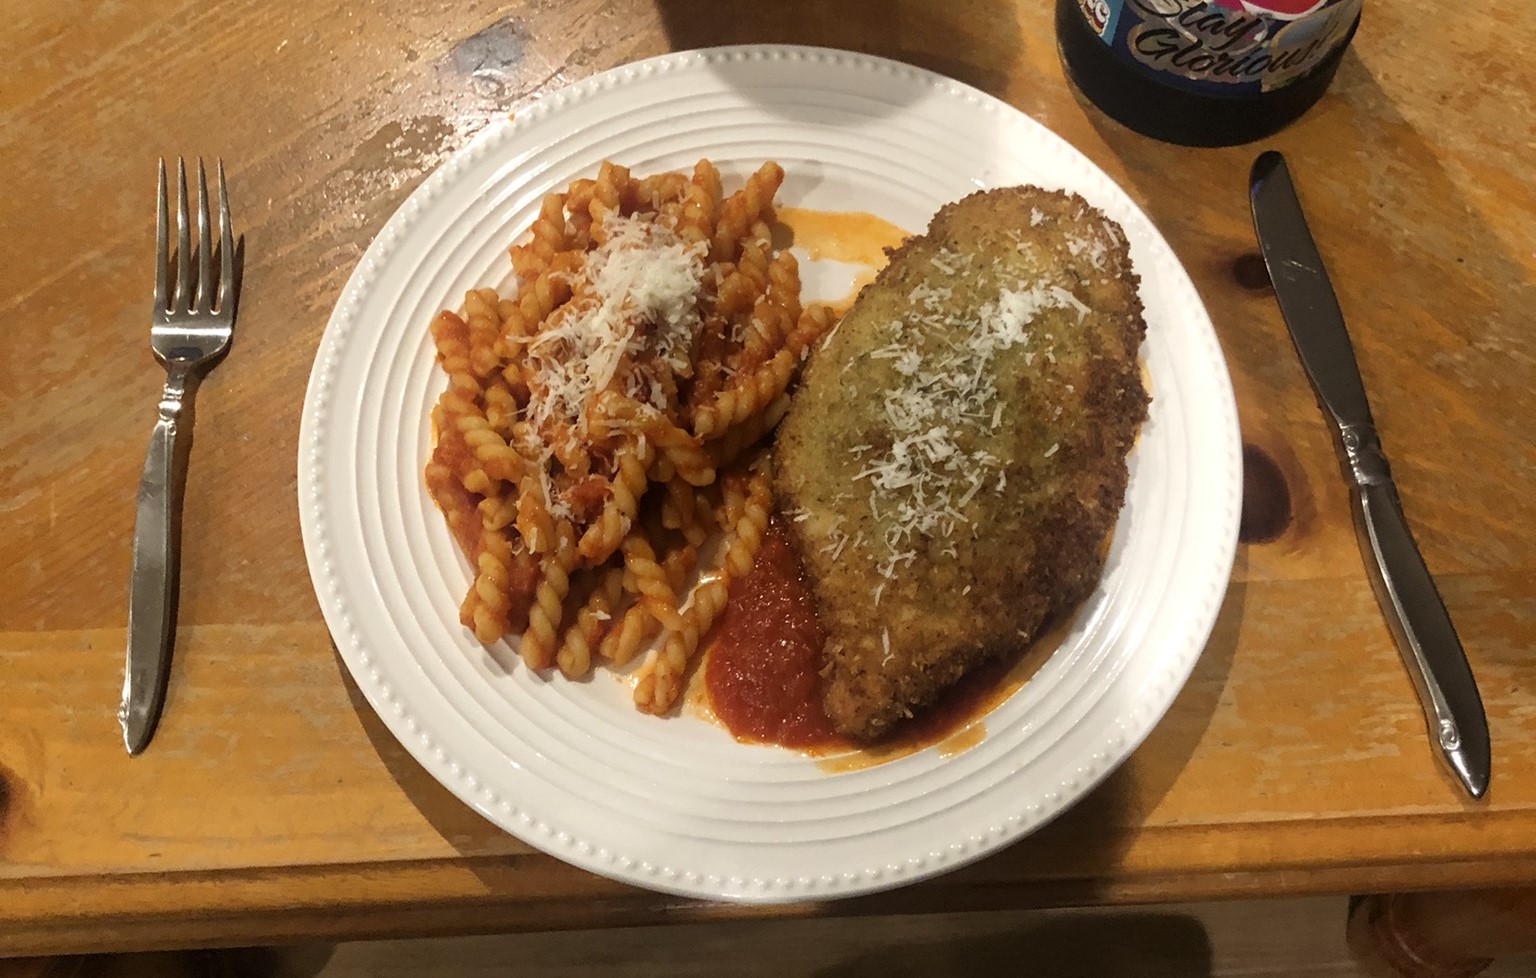
Step 8: Plate it all up

Almost time to eat! I like to put the sauce down first, then the chicken so you preserve the panko breading's crispiness. Do whatever you want for this step though! Broil a big ol' slab of mozzarella or maybe burrata, maybe make a salad to go alongside this.